Diva Procedure

After review of the CT scan, use a round bur to indicate the implant’s exact location. Start initial drilling beneath the sinus floor with a standard2 mm pilot drill until a depth of 1 mm beneath the sinus floor. Use a drill stopper to achieve the correct depth.

Insert the special concave Osteotom (tapered 2.2 mm – 2.7mm) with a stopper into the space created by the pilot drill. Gently apply pressure until the first crack of the sinus floor cortical bone is detected.

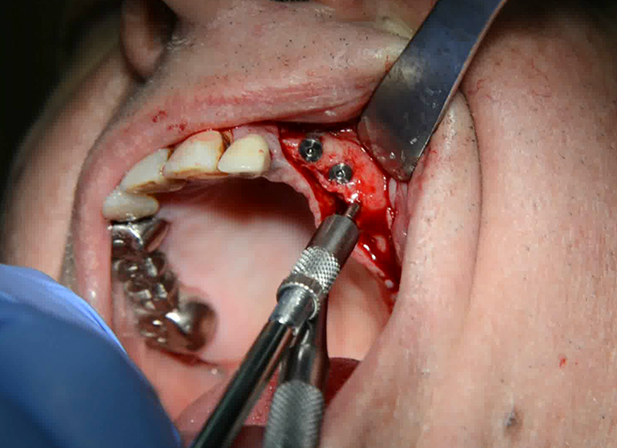
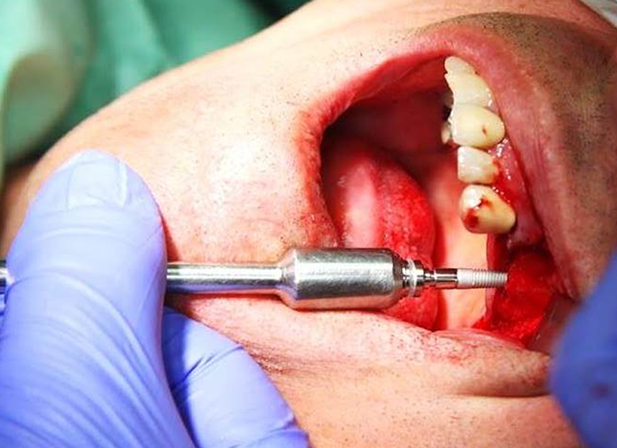
Insert the DIVA device using controlled rotation until initial primary stability is obtained.

With the attached special driver, unscrew and remove the first valve screw (the long one) located within the device. The bleeding that is observed from the DIVA channel indicates the sinus floor fracture.


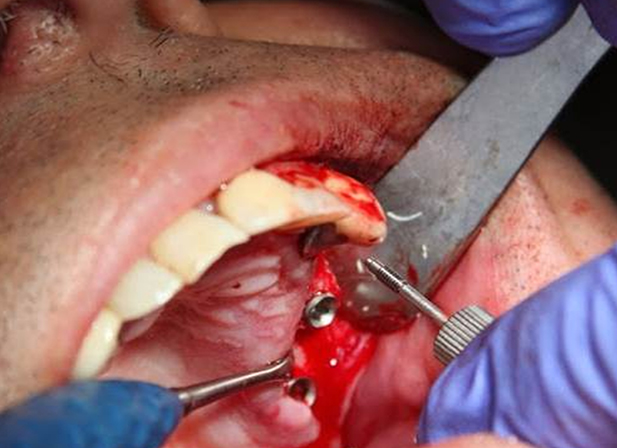
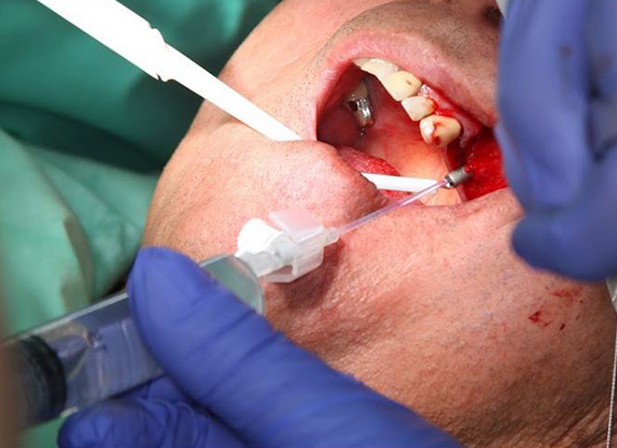
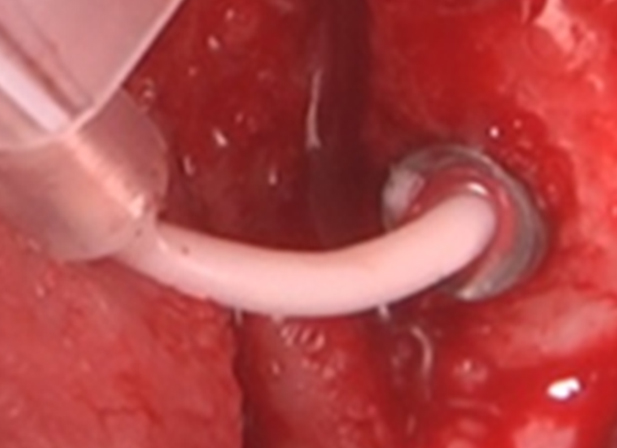
Attach a filled saline syringe to the IV Cannula. Use this apparatus to gently introduce 1cc of saline via the implant to rinse the sinus membrane. Remove the syringe and cannula, attach the ratchet to the implant, and carefully screw it in by 1mm. Repeat this rinse and ratcheting procedure until a counter sink for the DIVA device is attained. With this procedure, the membrane elevates, yet remains intact.

Detach the saline syringe from the IV Cannula, and then attach the CERASORB PASTE TCP syringe. Use this apparatus to inject TCP via the implant (approximately 0.5cc per implant) until the excess TCP overflows the implant.
Use the attached driver and screw in the first valve screw to expel the remaining TCP from the inner tunnel of the implant, and then rinse the implant with saline and remove the valve screw.

Screw in the secondary valve screw (the shorter one) to achieve absolute sealing, and cap the DIVA device with a cover screw.

After a 6-8 month osseointegration period, remove the cover screw to expose the implant and confirm that the inner valve screw has remained tight. Then, cap the DIVA device with the healing screw. The implant is now ready for permanent prosthetic restoration.
DIVA demonstration video
DIVA Sinus Lift Procedure by Prof. Oded Nahlieli
DIVA’s sinus lift procedure
